


Hey everyone!!! So I'm not sure if I have mentioned it here on my blog yet, but I have recently caught the PL (Project Life) bug!! (Also referred to as Pocket Scrapbooking...) I just found I wanted to create a scrapbook layout for every single little thing my kids did and it was so overwhelming! I got into Project Life so that I could document all the awesome things we do, and things my kids say, on a daily basis that would be almost impossible to do in a regular scrapbook.
I was searching for a bedtime digital kit that would work in my PL album and Miss Mint, from Peppermint Creative, offered to let me play with the kit if I would share my creation! Win, win!! :)
Before I share my page, I just wanted to let you know that printing digital cards from kits from Peppermint Creative is SO easy!!! I really couldn't believe it, so I put together a tutorial on how to easily print out these cards in Photoshop!! The tutorial will be at the end of this post...
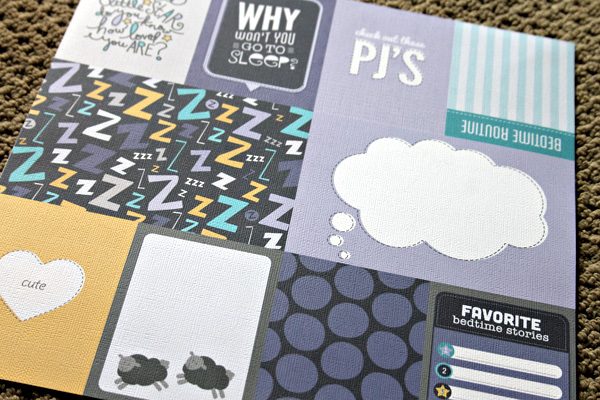
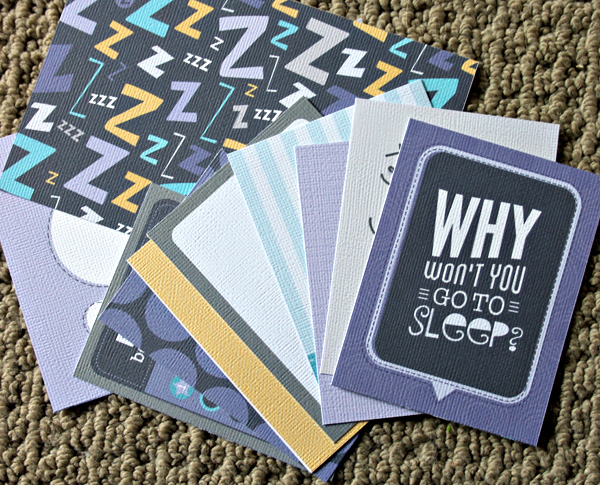
Here is a sneak peek at the AWESOME Good Night Sleep Tight Edition...

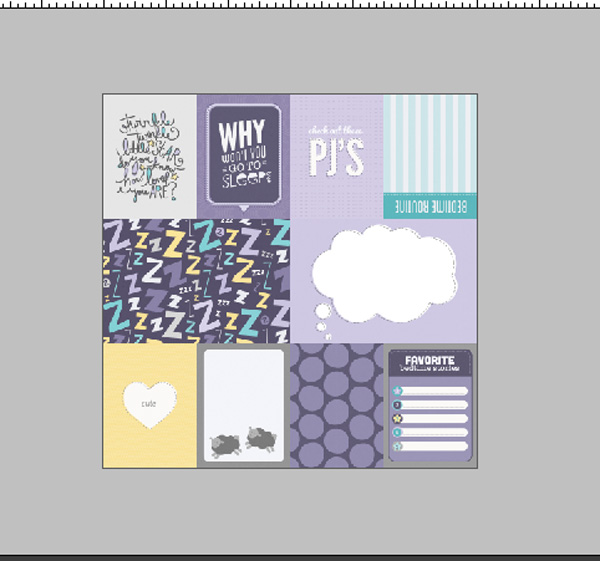
Here is the page I came up with...

I love that this kit is so versatile that I could even use it for a page where my kids SHOULD have been in bed, but were not...


Here is my tutorial!!
Supplies:
- White cardstock
- Printer (this tutorial uses a wide format printer but this can easily done using any regular printer!)
- Photoshop Elements
- LIP digital kit
1. Open up Blank File in Photoshop… File, New, Blank File

2. Set size of Blank File to 12x12 inches…
a. ‘Preset’ should be set to ‘Custom’
b. Widths should be set in ‘Inches’ in pull down menus
c. Resolution should be 300 DPI

3. Open up any digital ‘cards’ you would like to print
a. TIP: Multiple cards can be selected and opened by holding down the CTRL key and clicking on the files

4. Drag and drop cards onto 12x12 file
1. Open up Blank File in Photoshop… File, New, Blank File
2. Set size of Blank File to 12x12 inches…
a. ‘Preset’ should be set to ‘Custom’
b. Widths should be set in ‘Inches’ in pull down menus
c. Resolution should be 300 DPI
3. Open up any digital ‘cards’ you would like to print
a. TIP: Multiple cards can be selected and opened by holding down the CTRL key and clicking on the files
4. Drag and drop cards onto 12x12 file

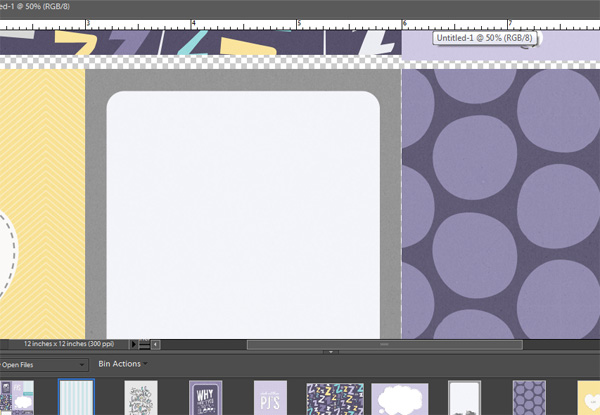
TIP: Make sure none of the open files are maximized, or you won’t be able to drag and drop files (cards). If files ARE maximized, click on the ‘Restore’ button. You should be able to see multiple cards as well as the 12x12 file at the same time.

5. As you drag and drop the cards onto the 12x12 file, arrange them like a puzzle with no spaces in between
a. TIP: The easiest way to do this is start with a card in the corner and line the rest of the cards up. Zooming in on the cards also helps to line the cards up perfectly.
6. Since the cards are typically all 4” on one side, it’s easy to arrange them in three rows by rotating them if needed.
a. TIP: Rotate the cards BEFORE you drag and drop them onto the 12x12 file
7. Once all the cards are arranged, send to printer
Easy peasy, lemon squeezey!! I promise you, these digital PL cards are so addicting!!
Thanks for stopping by today!!


2 comments:
love this Candace!! just started PL and this is awesome :-)
Awesome Idea and thanks for the tutorial.
Post a Comment